A plain screenshot dropped into a LinkedIn post or a tweet has to compete with everything else in the feed — video clips, carousels, other people's screenshots. One way to stand out without recording a full demo is to animate the screenshot itself: keep the UI static, but put a short looping video behind it instead of a flat color or image. The result reads as motion in a feed of otherwise still images, and it takes a fraction of the time a proper screen recording does.
This isn't the same thing as a product demo GIF, and it's worth being clear about the difference before you build one.
What an "animated screenshot" actually is
A screen recording captures a user doing something — clicking through a flow, typing into a field, scrolling a page. It shows a process over time.
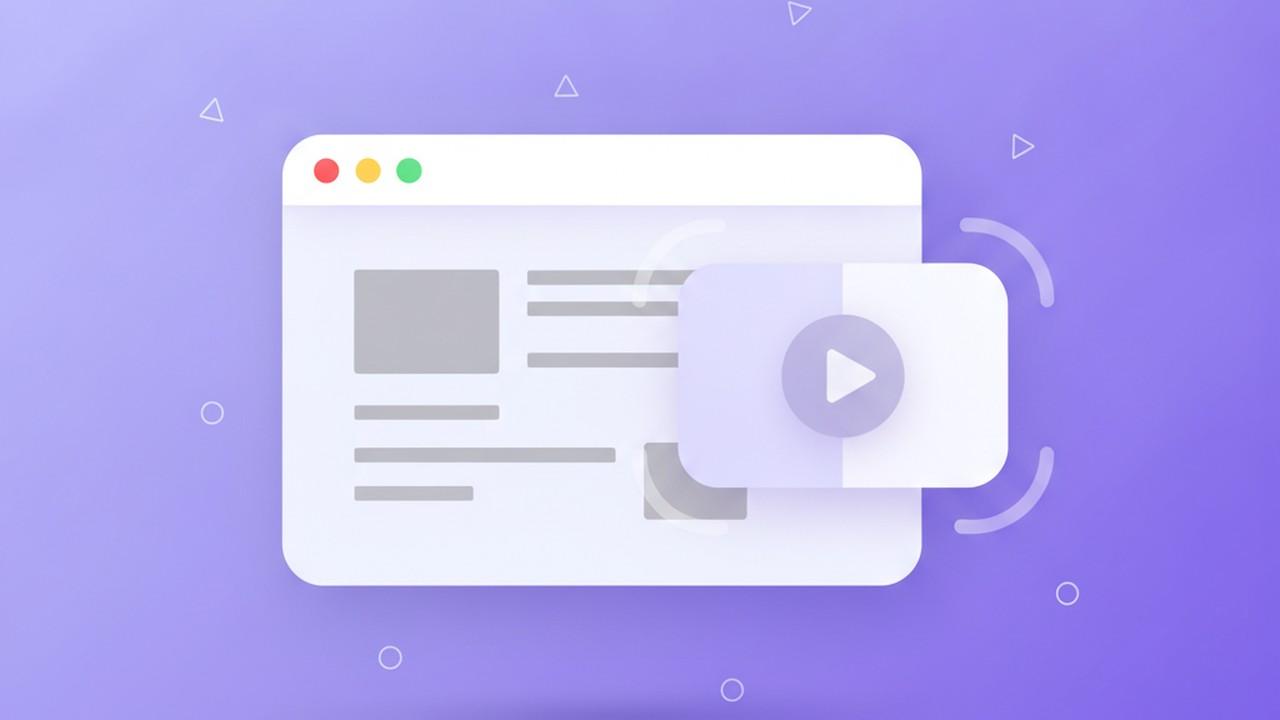
An animated screenshot is a single, fixed capture — the same still image you'd normally drop onto a solid or gradient background — with a looping video clip playing behind it instead. The UI itself never changes. Only the background moves: a slow gradient shift, drifting clouds, soft light rays, that kind of ambient motion. It's closer to a "living thumbnail" than a demo.
That makes it a good fit for a narrow set of use cases: a feature-announcement post, a before/after comparison, a hero image for a landing page, an App Store or Product Hunt banner you want to feel more alive than a static screenshot without editing a video. It's a bad fit for anything that needs to show a sequence of steps or an interaction — that's what a real screen recording is for, and no amount of background motion substitutes for it.
A concrete example: you've just shipped a redesigned dashboard and want to announce it on LinkedIn. A full walkthrough video is overkill for a single-feature post, and a plain screenshot won't stand out next to everyone else's plain screenshots. An animated background — the same dashboard screenshot, with a slow-moving gradient or light clip behind it — gets you something that reads as "new" and catches a scroll, for a couple of minutes of work instead of an editing session.
Why the format performs better in a feed
The basic mechanic is autoplay. On X/Twitter, GIFs and short native videos autoplay and loop in the timeline without a click, so they catch attention that a static image — which just sits there — doesn't. LinkedIn added native GIF and short-video support to posts for the same reason: motion holds a scroll for an extra beat, even if the content itself is simple.
Platform specs matter more than most people account for:
Keep it short — 3 to 5 seconds is the practical sweet spot — and around 480px wide at roughly 10 frames per second is enough for a subtle background loop; you don't need more for something that isn't fast-motion footage.
X / Twitter
Similar range: under 5 seconds, roughly 480px wide, 10–15 fps. Twitter re-encodes uploaded video and GIFs anyway, so there's little benefit to exporting larger than that.
Instagram treats GIFs as video, not looping animated images, and compresses more aggressively in Stories and feed posts. If you're posting there, export as MP4 rather than GIF — it holds up better through Instagram's re-encoding.
None of this requires precision. The point is: keep the clip short, keep the resolution modest, and don't export a heavy, full-resolution GIF expecting the platform to preserve it — most will re-encode it anyway.
Two ways to build one
Manually, in a video editor. Take your screenshot, drop it as a static layer over a stock or screen-recorded video clip in something like DaVinci Resolve, Premiere, or a browser-based editor like Kapwing. You'll need to size and center the screenshot layer over the clip, trim the footage to a loop point that doesn't jump, and export the composite as a GIF or MP4 at the right dimensions for wherever it's going. This gives you full control over the clip and exact framing, but it's a real editing task — sourcing footage, positioning layers, matching timing — for something that's meant to be a quick social post.
In a screenshot tool with a built-in video background. A few screenshot editors let you apply a looping video clip as a background directly in the same canvas where you'd normally set a solid color or gradient, then export the whole thing as a GIF or MP4 in one step. This skips the video-editor round trip entirely, at the cost of being limited to whatever clip library the tool gives you.
Savvyshot is one of the tools that supports this directly, and it's a reasonably clean example of the workflow if you want to see how the fast path works.
Building one in Savvyshot
- Capture your screenshot using whichever capture mode fits — region, window, full screen, or scrolling capture if it's a long page.
- Open the Background section in the right sidebar and switch to Video. Savvyshot pulls its video clips from Pexels — search by keyword and preview a thumbnail before applying one.
- Turn on background blur if the option fits your image. Blurring the video clip keeps the motion in the background where it belongs and stops it from competing with the screenshot content itself, which is usually what you want people actually reading.
- Open the export dialog (the editor's footer, or
Ctrl/Cmd+S) and choose GIF or MP4 as the format. You can set a duration up to the length of the source clip, and pick SD or HD background quality depending on the Pexels file available. - Note that video backgrounds and video export are gated behind an activated license — the free tier covers capture, editing, and static-image export, but you'll need a Basic or Pro license to use a video background and export it as a GIF or MP4.
The whole loop — capture, apply a clip, export — takes a couple of minutes once you know where the controls are, which is the actual appeal over hand-compositing something in a full video editor.
Making it look intentional instead of distracting
A handful of things separate an animated screenshot that looks polished from one that looks like a gimmick:
- Keep the motion subtle. Slow-moving gradients, drifting light, or soft clouds work. Fast, busy footage pulls attention away from the screenshot itself, which defeats the point.
- Blur the background clip. This is the single biggest lever for legibility — a sharp, moving background behind readable UI text is genuinely hard to look at for more than a second.
- Trim to the platform's effective window. There's no benefit to a 15-second loop if the feed algorithm and viewer attention both max out around 5 seconds.
- Check the loop point. A visible jump cut where the clip restarts is the fastest way to make an otherwise clean asset look unfinished. Preview the full loop before exporting, not just the first second.
- Match the export format to the platform. GIF for places that render animated GIFs natively (older-style previews, some blog embeds); MP4 for LinkedIn, X, and Instagram, where native video compresses better and loads faster than an equivalent GIF.
GIF vs. MP4: a quick gut check
Both formats loop, but they're not interchangeable. A GIF encodes each frame with a limited color palette and no inter-frame compression, so file sizes climb fast once you add motion — a 5-second clip at decent quality can easily run several megabytes. MP4 uses real video compression, so the same clip is typically a fraction of the size at equal or better visual quality.
The trade-off is compatibility: GIF plays anywhere, including places that don't render inline video, while MP4 needs a platform that treats it as a native video post. LinkedIn, X, and Instagram all do — so for direct social posts, MP4 is usually the better default. Reach for GIF specifically when you're embedding into a context that doesn't support inline video, like some blog platforms, email clients, or Slack previews of external links.
When to skip this and record a real demo instead
If what you actually need to show is a sequence — a user completing a signup flow, a bug reproducing itself, a new feature being used step by step — an animated screenshot won't do that job no matter how good the background loop looks, because the UI itself never changes. That's a screen recording, and tools built for that (Loom, Kap, ScreenStudio, or a screen recorder built into your existing screenshot app) are the right fit.
The animated-screenshot format is specifically for the case where you have one good static shot and want it to hold attention in a feed a little longer than a flat image would — not a substitute for showing your product actually being used.