You've got a screenshot of an error message, a quote from a PDF that won't let you select text, or a line from someone's chat message — and you need the actual text, not a picture of it. Retyping it by hand is the fallback most people reach for, but both macOS and Windows have been able to read text out of images for years now, and it's faster than it gets credit for.
This is a rundown of how to do it: the OCR tools already built into your OS, where they fall short, and when it's worth using a screenshot editor that has text recognition built into the capture-and-edit flow instead of a separate step.
Why You'd Want This in the First Place
A few situations come up constantly:
- Error messages and logs — a stack trace or terminal error shows up as a screenshot in a Slack message or support ticket, and you need to paste it somewhere to search for the fix instead of retyping it character for character.
- PDFs and scanned documents — some PDFs (especially scanned ones) don't have selectable text at all. A screenshot of the relevant page plus OCR gets you a working copy.
- Quotes from images or video — pulling a caption, a quote card, or text from a video frame so you can cite or reuse it.
- Data trapped in a UI — a table or list in an app that doesn't support copy-paste, like some dashboards or legacy software.
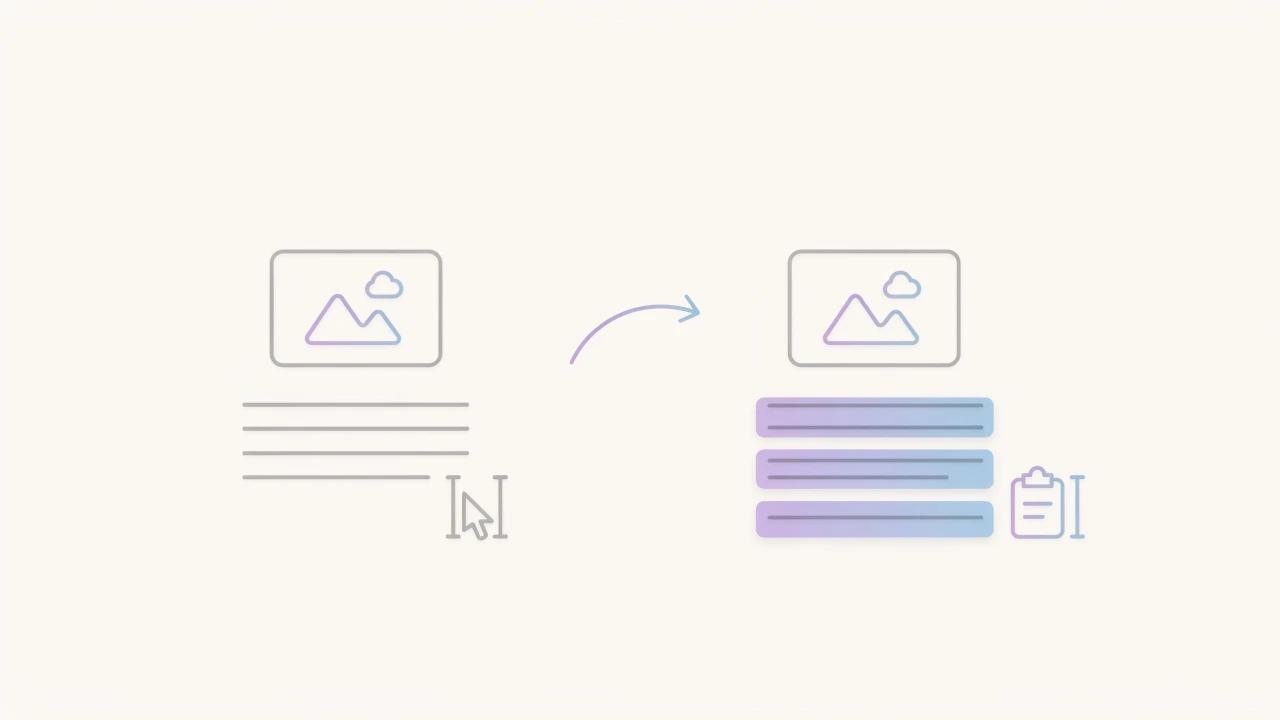
In all of these cases, OCR (optical character recognition) reads the pixels and turns them back into selectable, copyable text. The question is just which tool does that reading.
The Built-In Way on Mac: Live Text
macOS has had this since Monterey (2021), and it's quietly one of the more useful features Apple has shipped. It's called Live Text, and it works automatically — there's no separate app to open or feature to enable.
Here's the basic flow:
- Take your screenshot as usual (
Cmd+Shift+4for a region,Cmd+Shift+3for the full screen). - Open it in Preview or Photos, or just select the file in Finder and press the spacebar to open Quick Look.
- Hover over the text in the image — the cursor changes to a text-selection I-beam, which means Live Text has recognized it.
- Click and drag to select the text, then
Cmd+Cto copy, or Control-click the selection for more options (Copy, Translate, Look Up, Search the Web).
If dragging to select doesn't work, check Tools > Text Selection in Preview to make sure it's switched on. In Quick Look, there's also a small button in the corner that offers a one-click Copy All for grabbing every line of recognized text at once, rather than selecting it manually.
This works directly on the screenshot file — no upload, no separate OCR app — and it's accurate enough for normal screen text, UI labels, and most documents. It struggles a bit more with stylized fonts, low-contrast text, or text set at an angle.
The Built-In Way on Windows: Snipping Tool Text Actions
Windows 11 added the equivalent capability directly into the Snipping Tool, after years of this living only in third-party utilities. The feature is called Text Actions.
- Open Snipping Tool and capture a screenshot (or use
Win+Shift+Sand click the notification to edit it). - With the snip open, click the Text Actions button in the toolbar, or press
Ctrl+T. - Every block of text the tool recognizes gets highlighted automatically.
- Select specific text manually, or use the Copy all text option to grab everything in one click.
Text Actions also includes a couple of extras worth knowing about: a Copy as table option when it detects tabular data, which pastes more cleanly into a spreadsheet than plain text would, and a quick redact action for blurring out emails or phone numbers it finds before you share the image. All of the recognition happens locally on the device — nothing is uploaded anywhere to do this.
If you're on Windows 10, or an older Windows 11 build without Text Actions, the closest equivalent is PowerToys' Text Extractor (Win+Shift+T once PowerToys is installed and the module is enabled). It works on anything currently on screen, not just a saved screenshot file, which makes it slightly more flexible — you can OCR text straight out of a video, a PDF viewer, or an app that blocks text selection, without taking a screenshot first at all.
Where Built-In OCR Falls Short
For a one-off "I need this text right now" situation, the built-in tools above are genuinely good and you don't need anything else. They start to feel limited in a few specific cases:
- You're also annotating the screenshot. If you're marking up the same image — arrows, boxes, blur — text that's selectable by default can get in the way of drawing on top of it. You end up fighting the tool to select a region instead of text.
- You do this often enough that extra steps add up. Opening Preview, hovering to find text, dragging to select, repeated dozens of times a week, is a different time cost than doing it twice a month.
- You need OCR as part of a bigger screenshot workflow — capture, redact something sensitive, annotate, then pull out a line of text — rather than as a standalone task.
That's the gap dedicated screenshot editors with built-in OCR are aimed at: not replacing Live Text or Text Actions, but folding the same capability into a workflow where you're already capturing and editing.
Screenshot Editors With OCR Built Into the Workflow

A handful of screenshot tools build text recognition into the editor itself, rather than treating it as a separate viewer feature.
- CleanShot X, on Mac, recognizes text in a captured screenshot and lets you select and copy it from within its own editor, alongside its annotation tools.
- Savvyshot, on both Windows and Mac, added a dedicated OCR Text mode to its editor in version 1.4.2. It works as a toggle: there's a separate "OCR Text" button on the toolbar, and clicking it highlights every piece of text the app recognizes in your screenshot — only then does the text become selectable, with a Copy All Text button to grab everything at once. The reason for splitting it into its own mode is the same annotation conflict mentioned above: text that's selectable by default got in the way of drawing on top of it, so OCR selection became a deliberate action you switch into instead of something always running underneath your cursor.
- ScreenSnap Pro, also cross-platform, includes OCR text extraction alongside its annotation and background tools, aimed at the same "capture, mark up, pull out a quote" flow. The practical difference from the OS-level tools isn't accuracy — they're all reading the same kind of text the same way — it's that the recognition lives in the same window where you're already cropping, annotating, and exporting, so there's no round trip through Preview or a separate snip tool.
A Note on Sensitive Text
If a screenshot has text in it you're about to copy out and reuse, it's worth a second look at what else is visible in the same image before you share it onward — a stack trace might also show a file path, an internal hostname, or a logged-in username. Most of the OCR tools mentioned here (Windows' Text Actions included) can also flag and redact obvious things like email addresses, but it's still worth a manual check before a screenshot goes into a public ticket, a blog post, or a shared Slack channel. OCR makes it easy to focus on the one line of text you need; it's also a good moment to notice what's around it.
Quick Decision Guide
- One-off, no annotation needed → Live Text on Mac, Snipping Tool Text Actions on Windows 11, or PowerToys Text Extractor on Windows 10. Free, built-in, no setup.
- You also need to redact or mark up the screenshot → an editor with OCR built into the same window (Savvyshot, CleanShot X, ScreenSnap Pro) saves you from switching tools mid-task.
- You need it from something other than a saved screenshot (a video frame, a non-selectable app) → PowerToys Text Extractor on Windows, since it reads directly off the screen rather than from a file.
None of these require paying for a dedicated OCR service for everyday screen text — that's really only worth it for batch-processing large documents or scanned archives, which is a different problem than pulling a few lines out of a screenshot.