The usual fix for "look at this one thing" is an arrow or a box. That works fine when the thing is big enough to see and there's only one of it. It stops working in two common situations: the detail is too small to read at normal screenshot resolution — a status icon, a version number, fine print in a settings panel — or the screenshot is busy enough that a single arrow gets lost in the noise.
Most screenshot editors now ship two purpose-built tools for exactly these cases: a spotlight (dim everything except the area that matters) and a zoom callout or magnify tool (show an enlarged inset of a small detail next to the original). They solve different problems, and picking the wrong one usually means redoing the annotation once you notice it isn't actually helping.
Why arrows and boxes stop being enough
A box or arrow callout works by adding something on top of the screenshot. That's fine in isolation, but it doesn't change how visible the underlying content already is. If the target is 12 pixels across, circling it just adds a circle around something still too small to read. If the screenshot has five other UI elements competing for attention, an arrow is one more shape in a crowded frame — it points, but it doesn't necessarily win the eye.
Both problems have the same root cause: the callout tool changes what's on top of the image, not what's underneath it. Spotlight and zoom callouts work differently — one changes the visibility of everything else, the other changes the size of the one thing that matters.
Spotlight: dim everything except the target
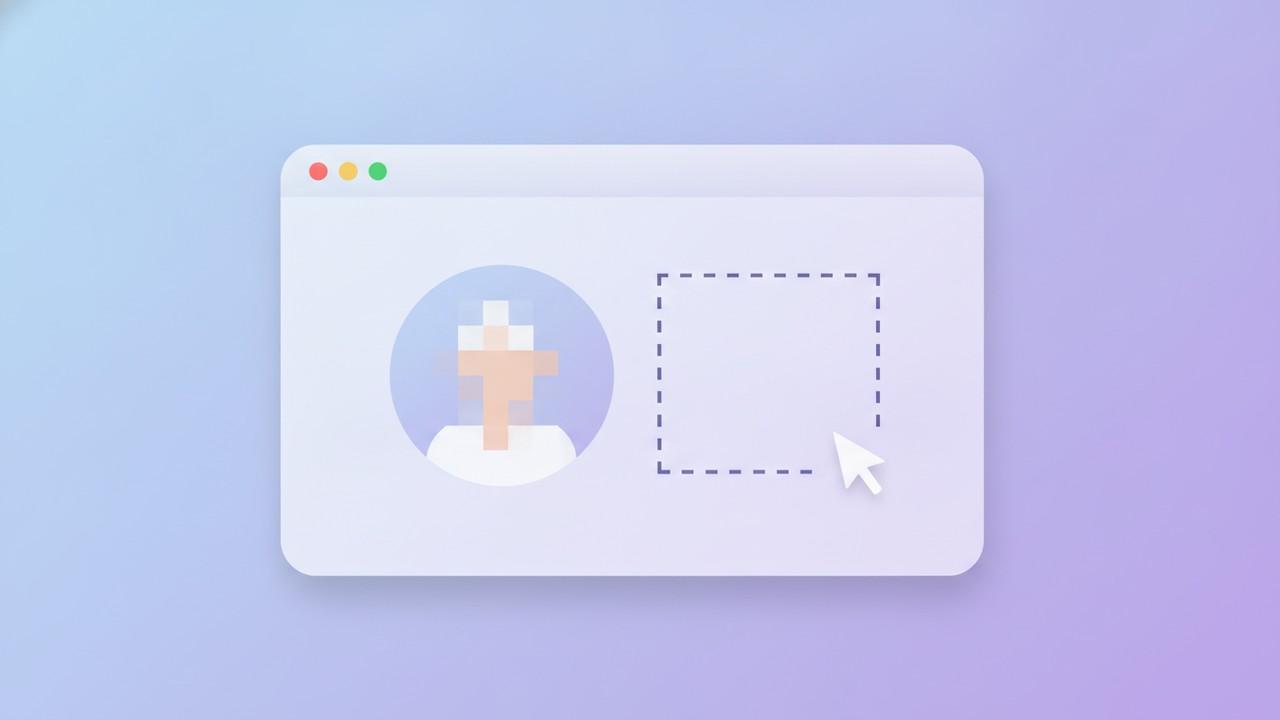
A spotlight annotation darkens the entire screenshot except for a region you draw, which stays at full brightness. Instead of adding a shape that points at something, it makes everything except that something recede.
This is the right tool when:
- The screenshot has several UI elements and you need the viewer's eye to go to exactly one of them, not "somewhere near the arrow."
- You want to keep the full screenshot visible for context — a spotlight doesn't crop or resize anything, it only changes contrast.
- You're highlighting more than one area in the same image. Multiple spotlights in a single screenshot are common for onboarding walkthroughs ("here's the sidebar, here's the search bar") without needing several separate screenshots.
In Savvyshot, the Spotlight tool lets you choose a rectangle or oval shape, and adjust both the dim color and the dim opacity independently — a heavier dim reads as more urgent, a lighter one is closer to a gentle nudge. Placing several spotlights on one canvas shares a single overlay, so overlapping areas don't stack into extra darkness. CleanShot X has a comparable Spotlight tool on Mac, with adjustable dimness and support for multiple regions in one shot — it's become a fairly standard feature name across screenshot editors at this point, not a Savvyshot-specific term.
What spotlight doesn't do: make anything bigger or clearer. If the target is too small to read even at full brightness, dimming the rest of the image doesn't fix that — you need a zoom callout instead.
Zoom callout: show an enlarged copy alongside the original
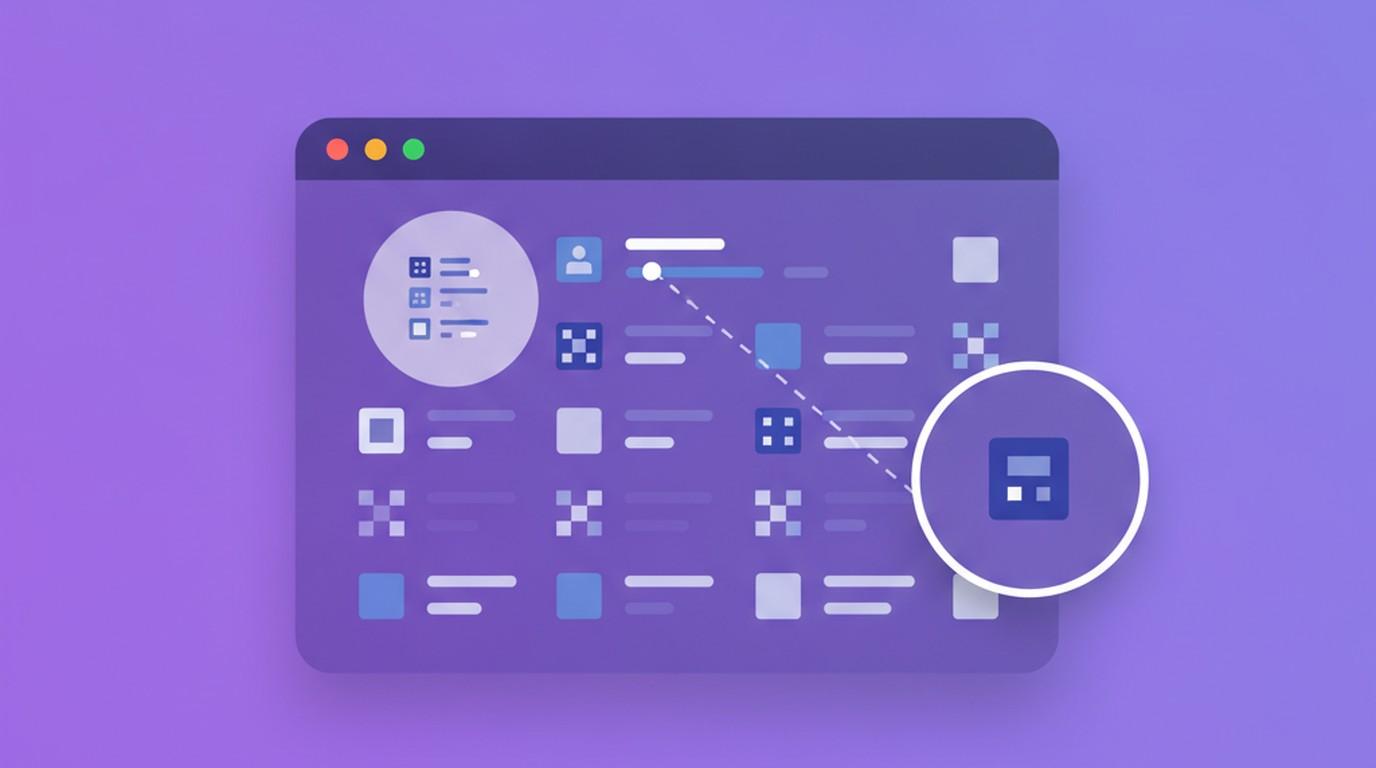
A zoom callout — sometimes called a magnifier or magnify tool — draws two connected elements: a small marker over the area you're highlighting, and a separate, enlarged copy of that same area placed elsewhere on the canvas, usually linked by a connector line. The original screenshot stays untouched at its normal scale; the enlarged copy does the work of making a small detail actually legible.
This is the right tool when:
- The detail is genuinely too small to read at the screenshot's native resolution — a toggle state, a tiny badge, a line of fine print in a dialog box.
- You still need the surrounding context visible. Cropping in tight on just the detail would lose where it sits in the interface, which often matters more than the detail itself (support and bug report screenshots especially — "the icon in the top-right of the export dialog" needs both the icon and the dialog visible).
- You're writing tutorial or documentation content where a reader needs to both locate something and confirm what it says.
In Savvyshot, the Zoom Callout tool places a dashed source box over the area you're calling out, connected to a loupe showing a 2x magnified view of that same region. Both the source box and the loupe can be repositioned and resized independently after placing them, so you can put the enlarged view wherever there's open space in the canvas, and adjust the connector line's color and thickness. Snagit's equivalent Magnify tool works similarly — drag to select the region, then adjust its shape (circle, square, or rectangle) and zoom percentage — and has been a fixture of that editor for years, under the same "magnify" naming.
The tradeoff is visual weight: a zoom callout adds a second image-within-the-image, which takes up more canvas space than a spotlight or a simple arrow. It's worth that cost when legibility is genuinely the problem, and overkill when the target is already visible and you just need to direct attention.
Picking between them
A rough decision order that covers most real cases:
- Is the target already legible, just easy to miss? Use a box, circle, or arrow callout. It's the lightest-weight option and doesn't change the rest of the image.
- Is the screenshot busy enough that a callout shape gets lost, but the target is still readable at normal size? Use a spotlight. It removes the competition without touching the target's size.
- Is the target too small or too fine-detail to read even with full attention on it? Use a zoom callout. Nothing else on this list actually makes something bigger.
These aren't mutually exclusive in principle, but stacking them rarely helps in practice. A spotlighted region that's also wrapped in a zoom callout usually reads as over-designed — pick the one that solves the actual problem and stop there.
Where this shows up in practice
- Bug reports: a zoom callout on a small error code or status badge, so the person triaging it doesn't have to ask "can you zoom in on that" as a follow-up.
- Product marketing screenshots: a spotlight on the one CTA button or metric you want a landing page visitor to notice first, while keeping the full product UI visible behind it.
- Support documentation: a zoom callout on a toggle or setting that's genuinely small in the real interface, paired with a step counter if it's part of a numbered sequence.
- Internal walkthroughs: multiple spotlights across a handful of slides, each one drawing attention to a different part of the same screen without re-cropping the image each time.
A note on export resolution
Whichever tool you use, the enlarged or spotlighted detail is only as clear as the image you're exporting. A zoom callout on a screenshot that then gets compressed hard for email or Slack can undo the whole point of magnifying it in the first place. If legibility of a small detail is why you added the callout, export at a resolution and format that preserves it — WebP and PNG hold up better than a heavily compressed JPEG for text-heavy details.