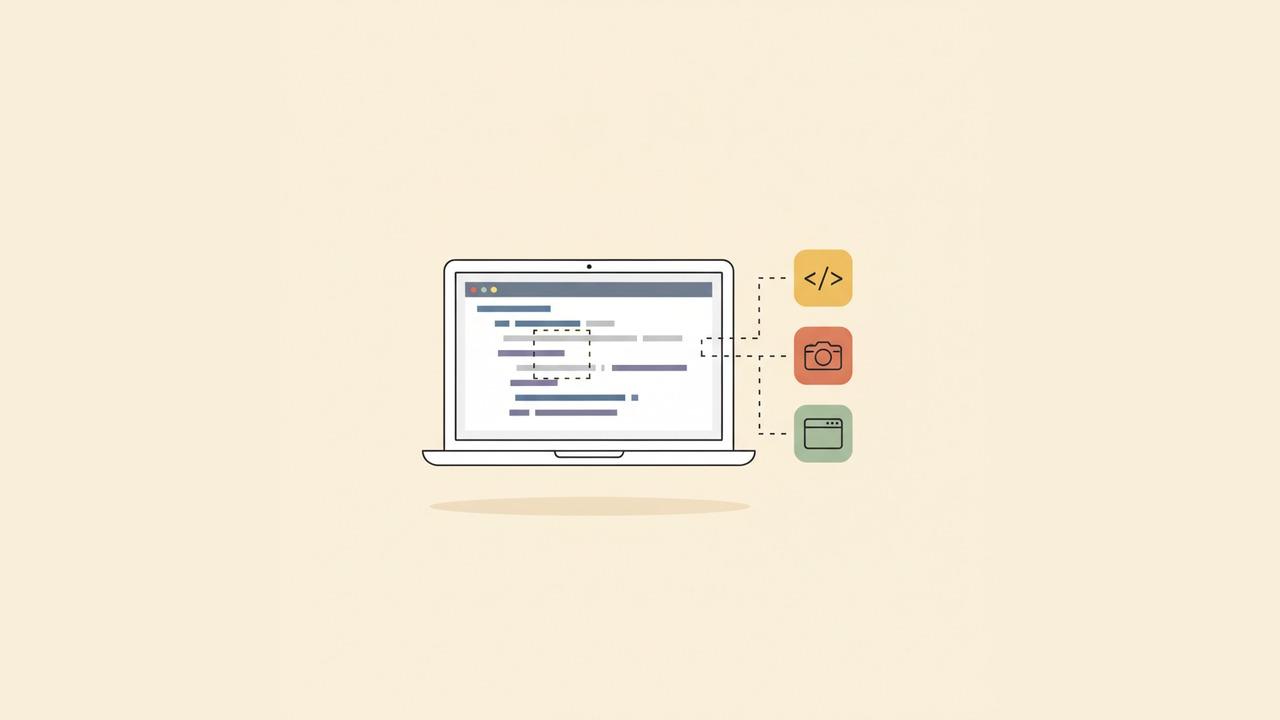
A code snippet pasted straight into a tweet or a Slack message as plain text is unreadable — no syntax highlighting, no line breaks that survive copy-paste, no visual hierarchy. So developers screenshot code instead. The problem is that a raw screenshot of an editor window usually drags in a cluttered sidebar, a dozen open tabs, and a title bar with a project path nobody outside the team needs to see.
Carbon and Ray.so solved this by skipping the screenshot entirely: paste code as text, pick a theme, and out comes a clean, syntax-highlighted image. It's fast and it's why both tools became the default for a "here's a snippet" tweet. But that workflow only works for code — the moment you want to show terminal output, a diff, an error stack trace, or an actual running app next to the code, you're back to a real screenshot. And a real screenshot needs a different kind of cleanup than a pasted snippet does.
Two Different Problems, Two Different Tools
It helps to be clear about which problem you're actually solving before picking a tool.
Code-to-image generators (Carbon, Ray.so, and similar) take text input and render it. You paste code, choose a color theme and font, and export. Carbon has been around since 2017 and remains the most recognized option; its free tier adds a small watermark to exports. Ray.so, built by the Raycast team, is free and open source with no watermark, and covers the same core job — paste, theme, export.
Both are genuinely good at their one task: turning a plain code string into something visually readable. What they don't do is show anything beyond that string. There's no way to include real terminal output scrolling past, a live error in a browser console, or the actual state of an app next to the code that produced it — because there was never a real screen involved in the first place.
Screenshot editors (Savvyshot, CleanShot X, and others in that category) start from an actual capture — your real editor, your real terminal, your real theme and font size — and then let you clean it up: crop out the clutter, add a background, frame it in a window mockup. The output looks like your environment because it is your environment, not a re-rendering of just the text.
Neither approach is strictly better. A tweet showing a ten-line utility function is a good fit for Carbon or Ray.so — the code is the whole point, and a generic theme is fine. A blog post walking through a bug, a terminal session, or a diff is a better fit for a real screenshot, because the surrounding context (the error output, the file tree, the actual command that ran) is part of what you're explaining.
Capturing a Clean Code Screenshot from Your Real Editor
If you're going the real-screenshot route, most of the work happens before you even open an editing tool.
1. Set up the window before you capture
- Bump the font size up one or two notches from your normal working size. Code that's comfortable to read while you're writing it is often too small once it's shrunk into a tweet-sized image.
- Close unrelated tabs and hide the sidebar if your editor supports a distraction-free or zen mode — one open file reads cleaner than a wall of tabs competing for attention.
- Scroll to the exact lines that matter. Cropping later works, but starting closer to the right view means less to trim afterward.
2. Capture the window, not the whole screen
A whole-screen capture drags in your taskbar, other open apps, and desktop clutter you'll just crop out anyway. Capturing the single application window instead — in Savvyshot, Window Capture (Ctrl+Shift+5 on Windows, Cmd+Shift+5 on Mac) — grabs just the editor or terminal, including parts hidden behind other windows, without needing to draw a selection box by hand.
3. Crop out anything still not relevant
Even a window capture usually includes a title bar or menu you don't need in the final image. A quick crop (X in Savvyshot) trims it down to just the code.
4. Frame it, if you want the "app window" look
If you want the screenshot to read as a window rather than a bare rectangle of text, Savvyshot's Frame section can wrap the capture in a plain macOS- or Windows-style window chrome — a title bar and window controls, without your actual project path or file name showing. This is the closest equivalent to what Carbon's fixed "browser-window" framing does by default, except it's optional here rather than baked in.
5. Add a background and padding
A code screenshot pasted directly against a white page or a dark Slack background often looks unfinished at the edges. A solid color, subtle gradient, or muted image background — combined with some padding — gives it the same "framed" feel Carbon's default gradient backgrounds are known for. Savvyshot's Canvas & Background panel covers all of this: padding, border radius, drop shadow, and five background types (solid, gradient, image, live photo search, and video). If you're publishing a series of code screenshots — a multi-part thread, or several screenshots in the same blog post — save the padding, background, and shadow combination as a canvas profile so every image in the series looks consistent instead of re-tuning it each time.
6. Export at 2x
Text is the least forgiving content to compress. Exporting at a 2x scale multiplier (available in Savvyshot's export dialog alongside PNG, JPG, and WebP format options) keeps small characters — brackets, semicolons, low-contrast comment text — legible on high-DPI screens instead of turning to mush.
Highlighting One Line Without Reformatting Everything
Code-to-image tools generally don't have a good answer for "draw attention to just this one line" beyond bolding or a comment. A real screenshot editor does, because it's built for annotation:
- Zoom callout (
Min Savvyshot) enlarges a small detail — a single line, a return type, an error code — next to the original, useful when the line that matters is genuinely hard to pick out at normal size. - Spotlight (
S) dims everything except the region you want the reader's eye to land on first, which works well when a function is long but only one part of it is the point of the screenshot. - A plain arrow or box annotation is still the lightest option when the line is already legible and just needs a nudge.
None of these require reformatting the code or picking new colors — they're layered on top of the real capture.
Don't Skip Redaction on Code Screenshots
This is the part that's easy to forget specifically because a code screenshot feels like "just code." Terminal history, .env output on screen, a hardcoded staging URL, or a teammate's name in a nearby Slack notification can end up in frame without anyone noticing until after it's posted. Auto-redaction in tools like Savvyshot (OCR-based detection of emails, IP addresses, phone numbers, and credit card numbers) catches some of that, but it does not pattern-match arbitrary secrets — an API key, a JWT, or an environment variable value won't get flagged automatically by any tool's auto-redaction, including Savvyshot's. Scan the frame yourself before exporting, and use a manual blur on anything that shouldn't be public.
When a Code-to-Image Generator Is Still the Right Call
Real screenshots aren't always worth the extra steps. Reach for Carbon, Ray.so, or a similar generator when:
- The code is the entire point, with no surrounding terminal output, error, or app state to show.
- You want a guaranteed-consistent look regardless of which machine or editor theme you happened to be using that day.
- You're sharing a snippet you wrote from memory or pulled from documentation rather than something you actually ran.
Reach for a real screenshot and editor when the context around the code — the command that produced it, the error it triggered, the app it's rendering — is part of what makes the post worth reading. Most technical writing that involves debugging, tutorials, or release notes falls into that second category more often than it first appears.