Open the menu, move the mouse toward the screenshot shortcut, and the menu is already gone. It's one of the more annoying small problems in documentation and support work: a dropdown, a tooltip, a right-click context menu, or a hover state only exists while the cursor stays exactly where it triggered it — and taking a screenshot normally means moving the cursor or pressing a key combination, either of which closes the thing you're trying to capture.
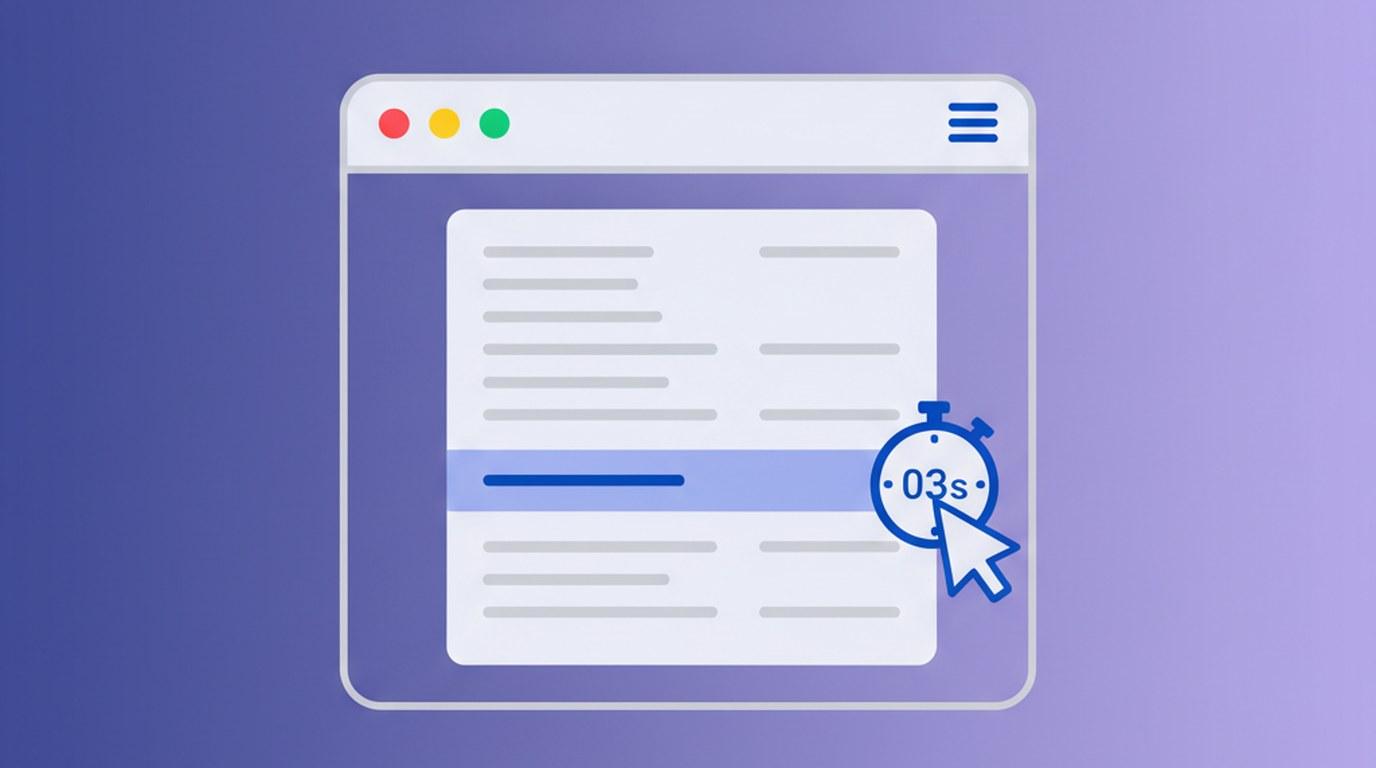
Every major screenshot tool has some answer to this, and the answer is almost always a delay timer. The setup is simple in theory — count down a few seconds, trigger the menu during the countdown, capture happens automatically — but the details of how each tool implements it determine whether it actually works for what you're trying to capture.
Why the normal capture flow breaks here
A dropdown menu, tooltip, or context menu is usually tied to focus or hover state. It's visible because the cursor is over a trigger element, or because a click just opened it, and the underlying app is watching for the next click or focus change to close it again.
A standard screenshot shortcut interrupts that in one of two ways. If it's a keyboard shortcut, pressing a modifier-heavy combination can itself count as input that some apps interpret as "user did something else, close the menu" — this is inconsistent across apps, but common enough to be a real problem. If it's a click-to-select interface — drawing a region rectangle, clicking a window to capture it — the click itself closes whatever menu was open, since you needed to move the cursor away from the trigger to reach the capture tool in the first place.
Either way, the fix isn't a better shortcut. It's decoupling the moment you trigger the capture from the moment it actually happens, so you have time to set the screen up in between.
What the built-in OS tools offer
Both operating systems ship a delay option, and it's worth knowing their limits before reaching for a third-party tool.
macOS: the built-in Screenshot toolbar (Cmd+Shift+5) has a Timer option under its Options menu, with two choices — 5 or 10 seconds. Once set, the timer persists for future captures until changed back to "None." It works with the toolbar's selection tools, but you pick your capture area (or capture mode) before the countdown starts, so if what you're capturing needs the full screen or a window, that part is straightforward; if you need to also position a specific region, you're locked into whatever you selected before you went to go trigger the menu.
Windows: Snipping Tool has a Delay option (the clock icon in its toolbar) with more granularity — Windows 10 offers 0 to 5 seconds, Windows 11 extends that up to 10 seconds. Click New to start the countdown, switch to the target app and open the menu or trigger the hover state, and Snipping Tool automatically enters its selection mode once the delay elapses, letting you drag a rectangle around whatever's on screen at that moment.
Both are genuinely usable for this. Their main limitation is that they're built for general-purpose screenshotting, not specifically for this workflow, so there's no persistent "delay mode" separate from your regular capture habits — you have to remember to set the timer, then remember to turn it back off.
How third-party editors handle it
Dedicated screenshot tools tend to treat delayed capture as its own mode rather than a toggle buried in a menu, and add more delay granularity.
CleanShot X (macOS) has a Self-Timer mode accessible from its menu bar icon, which works across its capture types — region, window, or scrolling — with a default 5-second countdown and support for custom delays.
Savvyshot's implementation is specifically a Capture Region with Delay mode, separate from the instant Ctrl+Shift+4 region hotkey:
- Right-click the system tray icon (Windows) or open the menu bar item (macOS) and choose Capture Region with Delay.
- Savvyshot's own window hides immediately, so it doesn't show up in the capture.
- Trigger the menu, tooltip, or hover state you want to capture during the delay window.
- When the delay elapses, the region selection overlay appears automatically — draw your rectangle around the menu the same way you would for a normal region capture.
The delay length is configurable from the same tray/menu bar entry's Set Capture Delay submenu — 1, 2, 3 (the default), 5, 7, or 10 seconds — and the setting persists across sessions until you change it again. There's no on-screen countdown or sound, which is a deliberate tradeoff: it keeps nothing visible that could show up in the shot, but it also means you're counting the seconds yourself rather than watching a timer tick down. This mode is part of the free tier along with the rest of core capture, and doesn't require a license to use. One real limitation worth knowing: the delay option currently only exists for region capture, not window or full-screen capture, so if what you're documenting needs a full-window shot with a hover state visible, region capture drawn tightly around the window is the workaround.
A practical walkthrough
Say you're documenting a navigation dropdown in a web app for a help center article. The menu closes the instant you click anywhere outside it, which rules out the normal region-select workflow entirely.
- Set the delay to something comfortable — 3 seconds is usually the default and enough for a single hover, 5 to 7 seconds if you need to first click into a text field or scroll before triggering the menu.
- Trigger delayed capture, then immediately switch focus to your browser or app.
- Hover over (or click) the menu trigger so the dropdown is open and stable.
- Hold that position and wait for the delay to elapse — the selection overlay appearing is your cue that it's time to draw the rectangle.
- Draw the selection around the open menu, including enough surrounding UI (the button that triggered it, page context) that a reader can tell where the menu lives, not just what's in it.
The same sequence works for right-click context menus, form validation tooltips that only appear on focus, and hover-triggered previews (a thumbnail that expands on mouseover, for example) — anything where the visible state depends on where the cursor currently is.
When a timer isn't enough
A few situations are trickier than "set a delay and hover":
The menu closes on window blur, not just on click. Some apps close dropdowns the instant focus leaves the window entirely, which happens as soon as you switch away to trigger the delayed capture in the first place. If a menu behaves this way, using a second monitor helps — trigger the delayed capture from one screen, then hover the trigger on the other without ever switching focus away from that app's window.
You're capturing a CSS :hover state on your own website. For this specific case, browser DevTools sidesteps the timing problem entirely. In Chrome or Firefox DevTools, right-click the element in the Elements/Inspector panel and choose "Force state" → :hover (or the equivalent toggle). This pins the hover style in place indefinitely — no countdown needed, no risk of the mouse drifting off target mid-drag. It's the more reliable option whenever the hover state belongs to a webpage you can inspect, rather than a native OS or app menu.
The delay keeps running out before you're ready. This usually means the delay is too short for the number of steps needed to reach the trigger (navigate to a page, log in, scroll, then hover). Bump the delay up rather than rushing the setup — a slightly longer wait costs nothing, while a rushed setup usually means retaking the shot anyway.
After the capture
Once the menu or tooltip is captured, it's worth a quick annotation pass before it goes into a doc or ticket: an arrow or box callout if the menu item that matters isn't obvious on its own, or a spotlight if the surrounding page is busy enough to distract from the menu itself. If the menu shows a real username, account name, or any other identifying detail from a live session, that's also the moment to blur or redact it — it's easy to forget that a "quick" menu screenshot still contains whatever was on screen underneath it.
None of this is complicated once the delay-and-trigger sequence is set up once, but it's one of those workflows that's genuinely hard to guess your way into without knowing the timer exists — most people's first instinct is to just try capturing faster, which doesn't work no matter how quick the reflexes.